
Setting up Python
Setup: JupyterHub
First head to this link and press the link to 'sign in with azure AD'. You should then sign in with your university email and usual university password. You should then see the following screen:
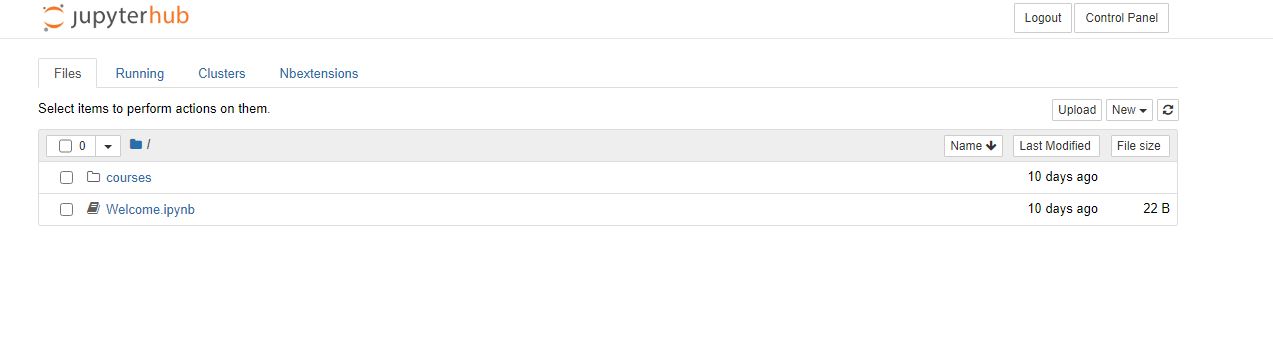
Click on the file 'Welcome.ipynb' which should open in a new tab the following:
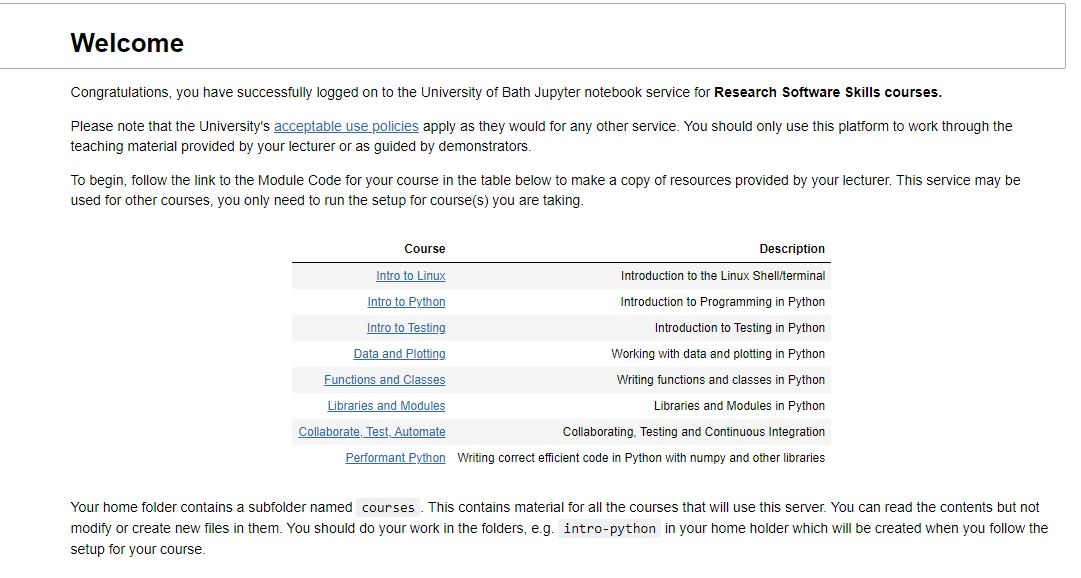
In the table, follow the course link 'Intro to python'. This should open a new file in another new tab that looks like the below. Carefully follow the instructions in this file.
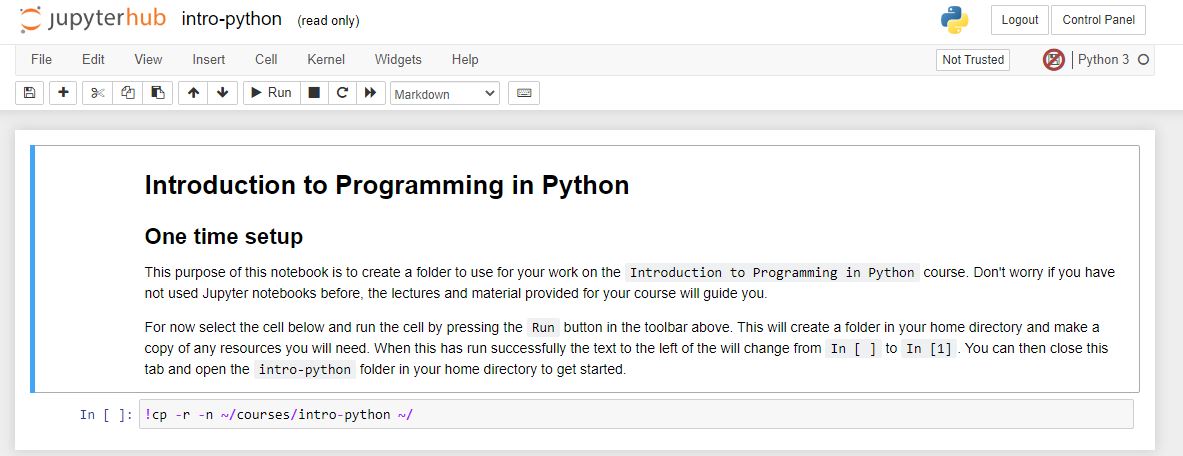
If you have followed this correctly and you go back to your original tab, called 'Home', and refresh this page you should see a new folder appeared called 'intro-python'.
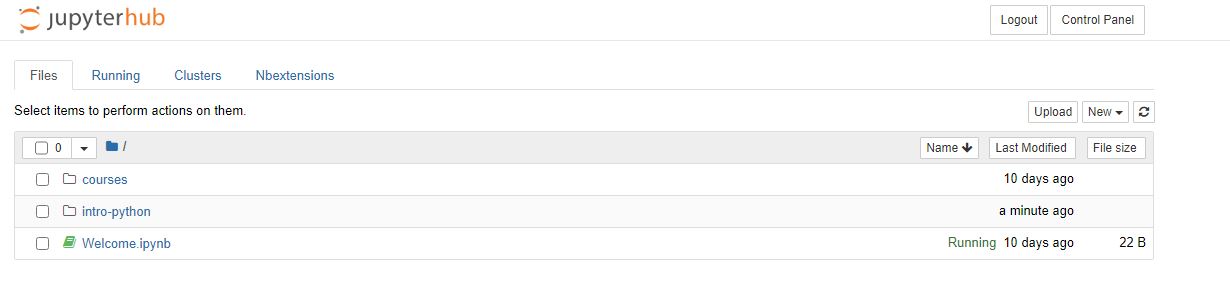
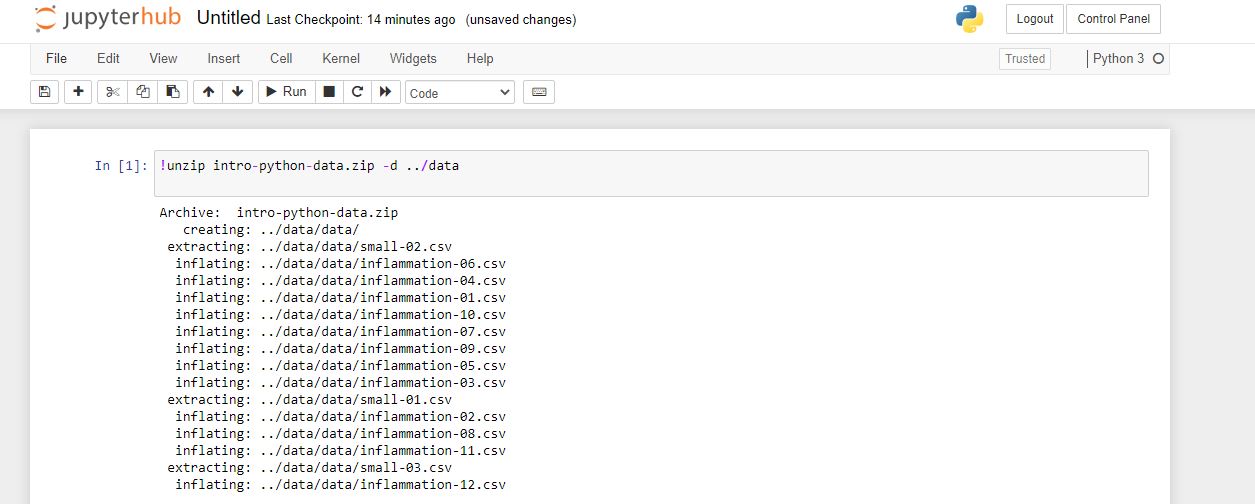
Click on this new folder to enter it. Now in the upper right hand corner, select 'new' and then 'python 3'. A new ipynb file will open in a new tab. In the first box, type the follwing command:
!unzip intro-python-data.zip -d ./data
and press 'run' as before.
You can now add a new cell to this file using the '+' button next to the save icon (or press the keys ESC then 'b') and start the lesson.
Setup: (Alternative) Local Install
You can install Python locally and follow along with these lessons from your own machine. We recommend you install Anaconda because it will come with most standard Python packages, as well as Jupyter Notebooks and Spyder (an editing IDE) installed too. If you are fluent in the command line/terminal/UNIX shell you can install Conda instead - this is just Anaconda but without the graphical user interface (GUI) and operates soley through the terminal. Naturally we recommand Anaconda unless you really don't want to use a Graphical User Interface (GUI), or you will be relying on using an environment where GUIs are disabled (like on a supercomputer).
Anaconda (GUI) - Recommended
Once you have installed Anaconda, launch Jupyter Notebook using the Anaconda Navigator - links to the user guide for Navigator are below:
- Navigator User Guide, to explain what you should be looking at.
- Installing Jupyter Notebook, to explain how to install Jupyter Notebook via Navigator if it isn't installed by default.
Once you launch Jupyter Notebook, your web browser should open to a page that looks like this:
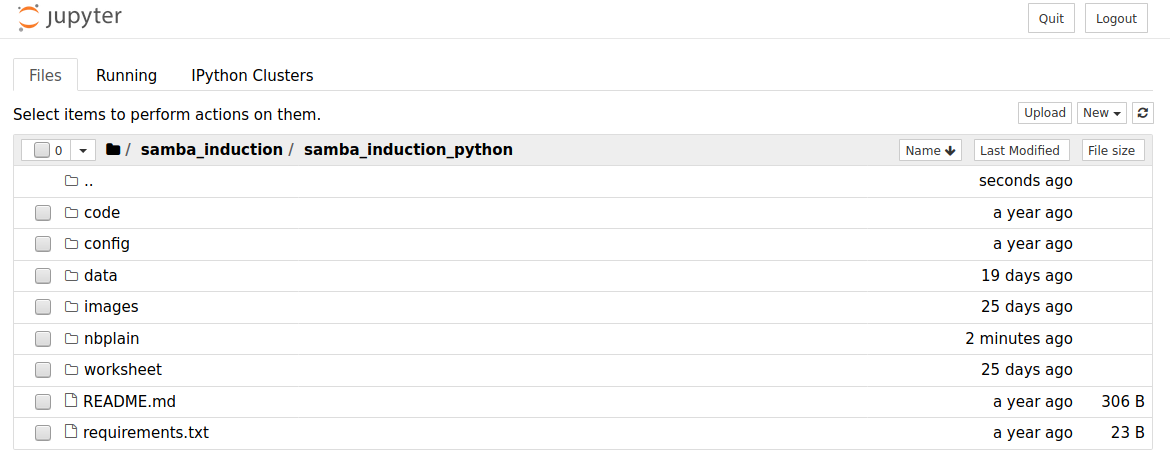
The screen should be displaying the contents of the folder that Jupyter is running from, make sure that you take note of where this is, as you will need to save the files below to this folder. The screenshot above for example is the directory from which we use Jupyter Notebooks to produce these webpages, so it includes several other files and folders.
Create a new notebook using the option New in the right-corner (be sure to select Python 3 or Python 3.6 if you have the option), and give it a memorable name.
This will open another page which looks like the screenshot below, and you're ready to start using Python once you download the files below.

Conda (Command Line)
If you don't want to install the GUI that comes with Anaconda, you can instead just install Conda and work from the command line. Once installed, open a terminal and create a new python environment using Conda - the full instructions for managing environments using Conda are here, but all you need to do is run the following commands in the terminal:
conda create --name PythonInduction python=3.6
conda activate PythonInduction
conda install math sys numpy
conda install -c conda-forge notebook
Agree to proceed when prompted by the command line, and this should create and activate a Python environment PythonInduction for you to use.
You may also want to run conda install scipy and conda install pandas if you plan to use Python for your research.
If your shell isn't configured properly, conda activate PythonInduction may not work, in which case use source activate PythonInduction instead.
After the installs are complete, you should be able to start Jupyter Notebook by running
jupyter notebook
in the command line, and can follow the Anaconda instructions above for creating a new notebook.
Download Files
If you are planning to use a Local Install, you will need to manually download the data files that will be used in the lesson.
Download and extract the following two .zip files in the same folder as your notebook, which you created in the steps above:
You should have two folders data and code after extracting them.
Naviagate into the data folder to begin with, and create a new Jupyter Notebook here.
Alternatively, load up spyder and create a new .py file, and save it to this folder.